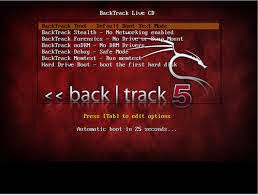
how to install BackTrack 5 in VirtualBox.


- Download the latest version of VirtualBox from the official page.
- Download the BackTrack 5 ISO from the official page
- After installing VirtualBox, let's launch it and try to set up a new Virtual Machine:
Click New –>Continue –> Next
Name (Select Ubuntu 64Bit) –> Next
Select Ram (Assign at least 30%)  –> Next
Check “Boot Disk” à Create New Hard Disk
Continue –> “Dynamically Expanding Storage” –> Choose Location –> Size (Minimum of
Continue –> Done
- Your Disk Configuration should look similar to this:
Click Settings (We are going to leave mosts defaults on for everything for this How-To)
Click Storage à With “IDE Storage” Selected click the Drive Icon with the plus sign on it à
Choose Add CD/DVD à Choose Disk à       Navigate to the BT5 ISO you had downloaded
Click Display and assign at least 64MB
Click Ok
Open Terminal and enter the Following
VboxManage setextradata “Backtrack” “CustomVideoMode1″ “1100x740x16″
Click Start
Click inside the window –> Tab –> Choose “Backtrack Text”
- Once the boot sequence completes you will already be in a root shell.
root@bt:~# rm /root/.kde/cache-*
- Once Backtrack Launches Double Click the “Install Backtrack Icon” and follow the steps from here.
- After the setups is finished, shut down Backtrack.
Click Settings in Virtual Box Manager à Click Storage à With “IDE Storage” selected remove the Live-ISO distribution
Click Start to launch Backtrack
- Now lets download the Vbox Guest Addon using wget.
root@bt:~# wget http://download.virtualbox.org/virtualbox/4.0.8/VBoxGuestAdditions_4.0.8.iso
- Now issue the following commands:
root@bt:~# mount –o loop VBoxGuestAdditions_4.0.8.iso /a
root@bt:~# cd /a
root@bt:~# chmod a+x VBoxLinuxAdditions.run
root@bt:~# ./VBoxLinuxAdditions.run
- Reboot and enjoy!


